Thursday, August 12, 2010

The Life and Times of Buster


I really intended to post more updates about my basil plant's failure success, but July seriously escaped me! I'm actually surprised that I still have a basil plant to talk about. Anyway, since Plan A was clearly a failure, let me give you a brief run down of the first month instead.

First things first, as you can tell from the title I decided to give my basil plant a name. I tried out a few different names like Benny, Baeza and Betsy, but none of them stuck. So after thinking about it for awhile, I finally settled on Buster. Jesse and I were obsessed with the show Arrested Development, which is sadly no longer on TV, so I decided to name my plant after one of my favorite characters, Buster.


So after coming up with a name, it was time to make Buster grow. In order to accomplish this, I've done several different things -- I water him almost everyday, I've put him in four different windows to find the one he likes (the one with the most sunlight), I've taken him out for a few lazy days in the sun and yes, I've not only talked, but I've actually sang to my prized possession. In case you're wondering, my favorite song to sing to him is "Get Up, Stand Up!" by Bob Marley - more on that in a bit.

After all of the love and caring I provided Buster this month, you probably think he's flourishing. I would expect that too. Well, lets just say its been a hard month and he's not exactly bursting out of his little planter. On the plus side, he is still alive.

I noticed right away that Buster leans. I tried rotating him so that his leaning side faced away from the sun, in hopes that he'd pull towards it, but he held on to his little lean for quite some time. After about two weeks though, he finally started to stand a little taller. That's when I made my near fatal mistake.

I put Buster outside on our deck, for a nice long day of soaking in the sun while I went to work. Yep I was jealous - a whole day in the sun! Here's where the mistake came in, I forgot to check the weather report before I left for work. Just my luck, around 4:00 a massive thunderstorm rolled through the city, pounding Buster's tender little leaves and drowning his roots in inches of rain water. Oh, and then I made the exact same mistake a week later. Real smart, Susan, real smart ....

Poor Buster after the storm :(
SO depressing!

I know, I'm embarrassed and ashamed that I did that to him ... twice!! I guess I don't really need to explain why I've been singing "Get Up, Stand Up" to him. It's taken a lot of work to get him back to even a semi-upright position, but after being beat down by the rain my little Buster fought back.

Here's a picture of Buster in his new favorite location, the dining room window. He's looking a little barren right now, because I just used a bunch of leaves to make a pasta salad, but he's finally standing up a little straighter and looking a little stronger.

Happy Birthday, Buster!

Here's hoping that the second month goes a little better than the first! Since he survived the first 30 days, I think I'm going to pick out a proper planter to keep him in - stay tuned. Oh, and wish me luck on month two!! :)

Tuesday, August 10, 2010

Sunday Dinner: Grilled Salmon

This weekend I decided to make a low-key, semi-homemade, Sunday dinner. Drew was out of town, so since it was just Jesse and me, I decided to make it easier for both of us (read: easy prep work and minimal dishes for Jesse).

First, Let me give you a little back-story on how this meal came to be ...

It turns out I'm kind of in love with Trader Joe's. While I've noticed that they don't carry some of the staples, or if they carry them, they run out quite frequently (i.e. white vinegar), I still love all the variety and prepared dishes they offer. They also have a great frozen section full of poultry, fish, side dishes and desserts!

One of my frequent purchases at TJ's is the Wild Alaskan Salmon. While it comes frozen, the flavor of the salmon is spot-on and it's always great quality. So for Sunday dinner this week, I bought 1 lb. of the salmon, along with an asparagus risotto from the frozen section, which turned out to be creamy and smooth, with a little bite from the asparagus. I usually make a honey-mustard glaze for the salmon, but this week I decided to try something new. After perusing my usual food blogs and recipe sites, I came across one on the Food Network that looked simple and tasty (plus, I had all the ingredients in my pantry!). So while I can't claim this as my own, I'll share it with you anyway because it turned out to be just what I was looking for.

Oh, one more thing, I'm SO disappointed because I forgot to take pictures of the finished product - guess I got a little excited about eating it! Looks like you'll have to use your imagination, and the wonderful photo provided by the Food Network. Enjoy! :)

Disclaimer: I made a few small modifications, such as brushing the salmon with olive oil and adding more marinade while it was grilling, but nothing major.

Asian Grilled Salmon
Recipe courtesy of the Food Network
Serves: 3 - 4
Source: Food Network
Total Time: 25 minutes


1 lb. Wild Alaskan Salmon
1 Tbsp. Dijon mustard
1 1/2 Tbsp. low sodium soy sauce
3 Tbsp. olive oil, plus 1 Tbsp. for drizzling
1/2 tsp. minced garlic (1 small clove)


Preheat grill to medium-high heat.

While the grill is heating, lay the salmon skin side up on a cutting board and brush with 1 Tbsp. olive oil. Flip the salmon, so the skin is on the cutting board, and cut it crosswise into 2 - 4 equal pieces.

Whisk together the mustard, soy sauce, olive oil and garlic in a small bowl. Drizzle half of the marinade onto the salmon and allow to sit for 10 minutes.

When the grill is hot, place the salmon skin side down on to the grates. Grill for 4 to 5 minutes, depending on the thickness of the fish. Turn carefully with a wide spatula, brush with half of the remaining marinade, and grill for another 4 to 5 minutes. It's alright if the salmon is slightly raw in the center, it will keep cooking as it sits.

Transfer the fish to a flat serving platter, skin side down, and spoon the remaining marinade on top. Allow the fish to rest under an aluminum tent for 10 minutes.

I used the resting time to prepare my side dish.

Wednesday, August 4, 2010

Sunday Dinner: ReDo

After our Sunday Dinner hiatus last weekend, I planned a nice grilled fish dinner this past Sunday to make up for it. I made my own lemon-butter sauce for the fish and a fresh chopped salad. Not only did I steam the broccoli, I then sauteed it with a little crushed red pepper for extra flavor. Everything was going really well -- I put the fish in a homemade aluminum foil pack and threw it on the grill to steam in a pool of lemon-buttery goodness. The package on the fish said to grill it for 3-5 minutes and then poof -- grilled fish! The package lied.

I left the fish on for the whole 5 minutes and then decided I would just hope for the best. I took it off the grill and did my best to peek in to see if it was done, but since it had been steaming in the air-tight packet it was really hot, making it impossible to get a close look. Let's just say "hoping for the best" turned out to be a catastrophe. Parts of the fish looked nice and flaky, while others still looked a little less than pleasant. Meanwhile, the lovely fillets that came in the package turned into bite size pieces as I attempted to move everything from the foil packet to a tray.

Drew and Jesse were good sports and ate whatever fish they could, but at the end of the meal we were all still really hungry. Our saving grace was the chunk of Gouda I had in the fridge. We finished our meal with cheese and crackers while watching Dexter -- oh and a few cupcakes.

So, since I clearly don't have a good recipe to present from Sunday night, I whipped up a nice meal Monday night to post on here. I've made a few recipes similar to this one, but this was sort of self-created as I went. Without further ado I present my Sunday dinner redo. Enjoy!

Pesto Tortellini with Tomato and Spinach

Serves: 2-4 (4 if you serve it with salad and bread)
Cooking Time: 20 minutes


2 cups pesto tortellini*
3 Tbsp. olive oil
pinch crushed red pepper
1/4 tsp. salt
2 garlic cloves, thinly sliced
15 grape tomatoes, quartered
9 oz. baby spinach
1/2 cup pasta water
freshly ground black pepper
freshly grated Parmesan cheese

*I used the dry pesto tortellini from Trader Joes, but most grocery stores have something similar.

1. Boil a pot of water and cook the tortellini according to the directions on the package.


2. While the water is boiling, slice the garlic and dice the tomatoes.


3. With about 8 minutes left on the pasta, heat the oil over medium heat. Add the garlic, crushed red pepper and salt to the pan. Saute until the garlic is golden brown, about 3 minutes.


4. Add the tomatoes to the pan and saute another 3-4 minutes.


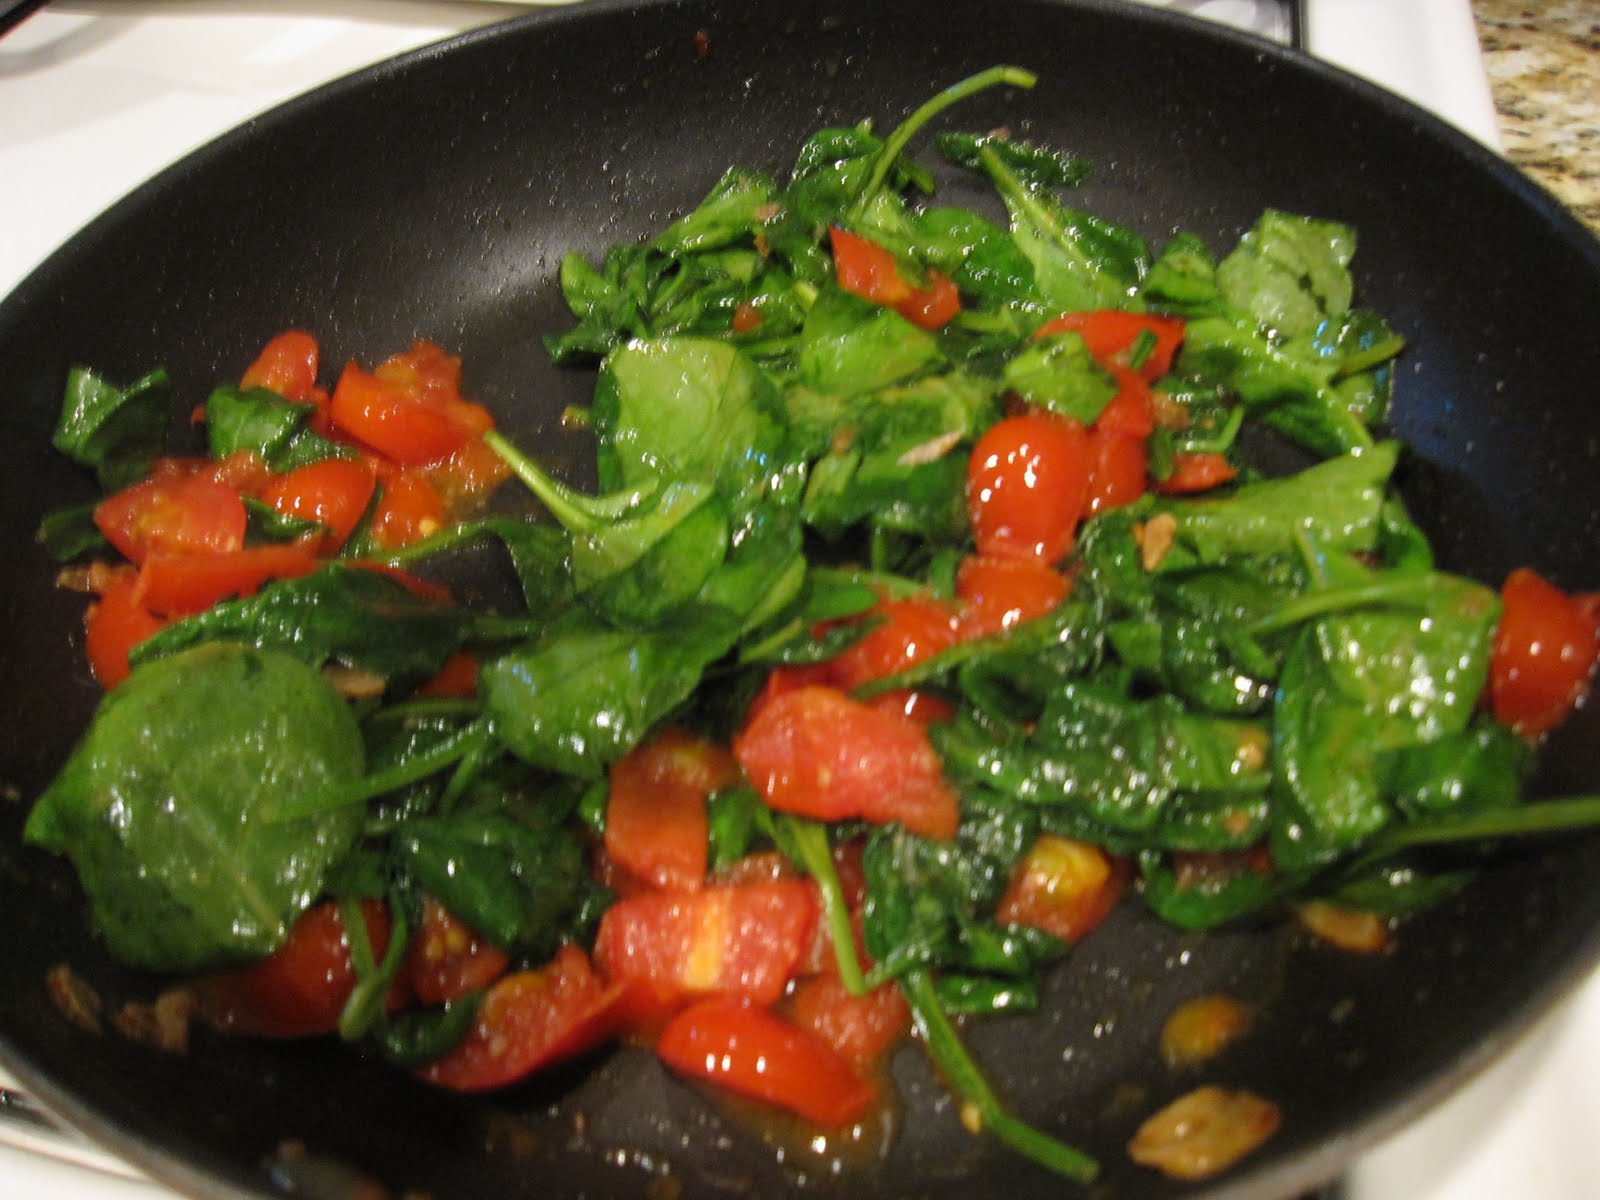
5. Add the spinach to the tomato mixture and stir occasionally until wilted, about 1 minute. Meanwhile, drain the pasta, reserving about 1/2 cup of the cooking liquid.

Before wilting:

After wilting:


6. Add the tomato mixture to the tortellini and combine. Add the reserved cooking liquid to the pot as needed. (I only used 1/2 cup to get the desired consistency)


5. Serve with freshly grated Parmesan cheese.


and now a close-up ....


If only Drew would have been here to enjoy the better of the two Sunday dinners! :)

Thursday, July 29, 2010

Zero to Hero [in the kitchen]

When I moved to Virginia three years ago, I had no idea how to cook. I didn't even know how to scramble eggs (I know, pathetic!). My mom always did the cooking at my house, so I was never forced to learn. In college, I lived in a sorority house, which meant I could rely on the house-cook who prepared our meals everyday. Needless to say, when I moved out here I had yet to learn how to cook much more than shells and cheese and canned tomato soup. That counts as cooking, right?

It's funny thinking back to my first summer in Virginia, when making over-easy eggs would nearly bring me to tears (I can't lie, I still get upset when I break a yolk in the pan) and every time I grilled any sort of meat, I insisted that Jesse double-check it to make sure it was done. After a few months of practice though, I started to settle into cooking. And after a year or so, I noticed that I was modifying the recipes I found to work better for Jesse and me. I took pride in what I was making and the fact that I could be so successful with something that felt so challenging.

My first homemade lasagna (Spring 2008)

Looking back to my first days at the stove makes me laugh. I can't believe that at one point I was intimidated by raw chicken or that eggs made me feel defeated. During my three years of home-cooking, I finally feel like I've found my sea-legs and that I can do just about anything.

While I know many of you are already settled-in in the kitchen, I have a little advice for anyone that is new to cooking - start small, but reach far. There have been several times when I've stretched way out of my cooking comfort zone to try a new dish or cooking method to prove to myself that I can do it, and 99% of the time it pays off. I usually try to pick one part of the meal to jazz up, while keeping everything else simple. For example, taco night - Jesse and I eat tacos just about every week. I usually use ground beef or turkey and I either mix up my own taco seasoning or cheat and use store bought mix. But one thing I love to make from scratch, that takes taco night to the next level, is guacamole. I never realized how simple it is to make homemade Guac. Restaurants charge anywhere from fifty cents to $1.50 extra for a tiny cup of Guac, but a whole avocado only costs about $1.25 ... talk about major markup!

The thing I like about making guacamole is that you can modify it based on your personal tastes and what you have on hand. But beware, avocados have a very short shelf life. It's best to buy them the day before you want to use them because it only takes about 24 hours for a medium-hard avocado to ripen.

I know there are many variations of guacamole, but here is my very easy, pantry-friendly, version. The nice thing about this recipe is that it's very easy to multiply the ingredients and prepare for a larger group. I've made this for several weeknight dinners and it's always a hit! I am giving you exact measurements for each of the ingredients, but I've found that it's best to go by taste. Some avocados seem to be a little more needy than others. :)

Holy Guacamole!

Serves: 2
Time: 10 minutes, plus chilling time


1 large ripe avocado
1 medium roma tomato
3 tablespoons diced red onion
2 tablespoons lime juice
salt and fresh ground pepper, to taste

1. Start by prepping all the ingredients. De-seed and dice the tomato. De-seeding prevents the guacamole from getting watery. Then, dice the red onion and the avocado (tips for slicing an avocado are below the recipe).


2. Place the chunks of avocado into a medium mixing bowl. Take a fork and mash the avocado until no large chunks remain.


3. Add the diced tomato and red onion to the bowl and mix together.


4. Add the lime juice, tasting as you go to make sure there is enough "zing," but not too much. Next add the salt until the zing, otherwise known as acidity, is balanced out. Finally, add a little freshly ground black pepper for flavor.


5. Chill for at least 30 minutes, but no longer than 3-4 hours to maintain freshness. Serve with tortilla chips or on tacos.


Ways to jazz it up:
For a little bite, mince one small garlic clove
For a lot of bite, dice up one small jalepeno pepper (be sure to discard the seeds)
For extra creaminess, spoon about 3 Tbsp. of sour cream into the avocado mixture
For a fresh bite, chop a little fresh cilantro into the guacamole


Slicing an Avocado
Start by slicing the avocado in half, keeping in mind the pit in the center. Once you've cut around the avocado, you should be able to twist each half apart.


Remove the pit with your knife by chopping into it and twisting the knife to loosen the pit from the avocado.


Deeply score each half horizontally and vertically being careful not to break through the skin.


Finally, separate from the skin using a spoon or your fingers.

Monday, July 26, 2010

My Green (and by green I mean black) Thumb

I’m back from my week long hiatus. Sorry for the lack of communication, but I took an unexpected trip to Orlando early last week and then Jesse and I spent the weekend celebrating our first wedding anniversary!

Now, back to the blog ...


I've wanted to plant my own herb garden since we bought our house, but somehow I've killed every plant I've owned to date. I got a beautiful orchid as a gift a few years back. Dead. When Jesse and I bought our house his mom helped me pick out a little plant for our porch. Dead. A few months ago, I bought a new plant for the planter on our porch. Dying. Can you say black thumb?

I'm not sure why I think I should keep trying, but for some reason I'm determined to grow something, preferably herbs. I thought about buying a window box and filling it with my favorites like basil, thyme, oregano and rosemary, but I would feel like a big failure if I killed them all at once!

As a way to sort of test the waters, I've been eyeing the little basil plants that sit in the entryway of my local grocery store, wondering if I could keep one of the little guys alive. Until a few weeks ago, I just passed them and thought that there was no way I could do it. Then, as though it were a sign from the grocery store gods, or just my lucky week, I was shopping at Whole Foods and the basil plants were on sale. They were setup in simple little planters waiting for someone to take them home – and that someone was me! I purchased my little basil plant for a whopping $2.50 and set it up in my kitchen window to soak up the rays.

I really have no idea how long this will last, but I'm going to do my best to keep him alive for at least a few weeks. And, to keep all of you involved in the life of my little guy, I dropped a counter on the right side bar (many thanks to my husband for whipping that up for me!) to show how many days he's survived ... wish me luck!

Thursday, July 15, 2010

Sunroom Preview

We completed the next phase of "The Lentz Townhouse Revamp" yesterday. Marc came over to paint the sunroom and I can't wait to show you how it all turned out. I am planning to do a full room makeover the same way I did for the kitchen, but until I have time to put it all together, here's a little something to whet your appetite.

Before - boring white walls and emptiness .... womp womp


After - The soothing blueish-gray paint (Benjamin Moore, Wedgewood Gray) envelops the room, while the mineral green curtains (thank you Pottery Barn for the natural sounding color name) and bundle of white twigs bring the feeling of the outdoors in ... ta-da!


I hope I'm not giving too much away, but I will say this: I'm. In. Love. :)

Wednesday, July 14, 2010

Movin' on up: Kitchen Renovation

When we bought our house last summer, we were very lucky that it was in good condition. We were hoping to find a community with new construction, in hopes that any renovations would be minor. It took a lot of searching, but after about three months of looking, we found a townhouse that was built in 2004 with most of the things we wanted (i.e. garage, community pool, master bathroom, walk-in closet).

The only room that didn't fit the bill was the kitchen. I had visions of granite and stainless steel, but we were dealt laminate countertops and white(ish) appliances. While we haven't been able to upgrade everything on our wish list, we've made significant progress, including a few small changes that went a lot further than we expected.

The pictures below show what we started with and what we've done since we moved in to make this space our own. While the house has a great foundation, the space needed a little face-lift, so that's just what we did!

Pre-Renovation Pros and Cons
Pros - wood flooring, solid wood cabinetry, tile back splash, recessed light above the sink, Kohler faucet

Cons - bland white walls, gun-metal looking knobs, laminate countertops, wood plate covers, humongous fluorescent light, dated appliances

Before & After
We painted the walls, replaced the wood plate covers, put in granite counters, switched out the gun-metal hardware for brushed nickel, tore out the heavy fluorescent fixture and replaced it with recessed lighting and installed under cabinet lighting for the countertops. Enjoy the walk-through of our "new" kitchen!

Before I get into the nitty-gritty details, here's an overall view of our kitchen.


And, after several months of projects and little bit of moolah, here are the results!


Before - Boring white walls and the laminate counters made the space feel bland, while the pot rack covered all the natural light from coming through the window.


After - The granite counters and creamy-yellow paint are meant to warm up the kitchen, while taking down the pot rack and blinds opens up the space above the sink.


Before - Close-up of the wooden plate covers, white walls and laminate counter.


After - The stainless steel plate covers blend into the backsplash much better than the wood covers. And even though there isn't much wall space in the kitchen, we hired a professional painter for the project, since we were painting the entire first level at the same time. The addition of a little color - Benjamin Moore's Jicama - made a huge difference.


Before - A better look at the big picture. I still can't get over the fact that the previous owner hung all their pots and pans right in front of the only window in the room ... major eye-sore!


After - Everything looks much more open and bright without the heavy, dark accessories. We replaced the cabinet hardware with this set from Home Depot.


Before - The recessed light above the sink brought light into the space, but once we installed recessed lighting everywhere else, this bulb looked a little out of place.

After - To fix the problem, we bought a recessed light conversion kit (for just $35) from Lowe's, which allowed us to screw the fixture in, just like a light bulb, over the existing recessed light - genius!


Before - The bulky fluorescent light fixture looked like it was meant for a retail space, not our kitchen!


After - We used a local contractor to install recessed lighting. The contractor charged a flat rate of $100 per canister, which included the price of the canister and the install. He also patched up the hole from the old light fixture for free - bonus!


Before - The corner by the fridge was a dark space that didn't get much light.


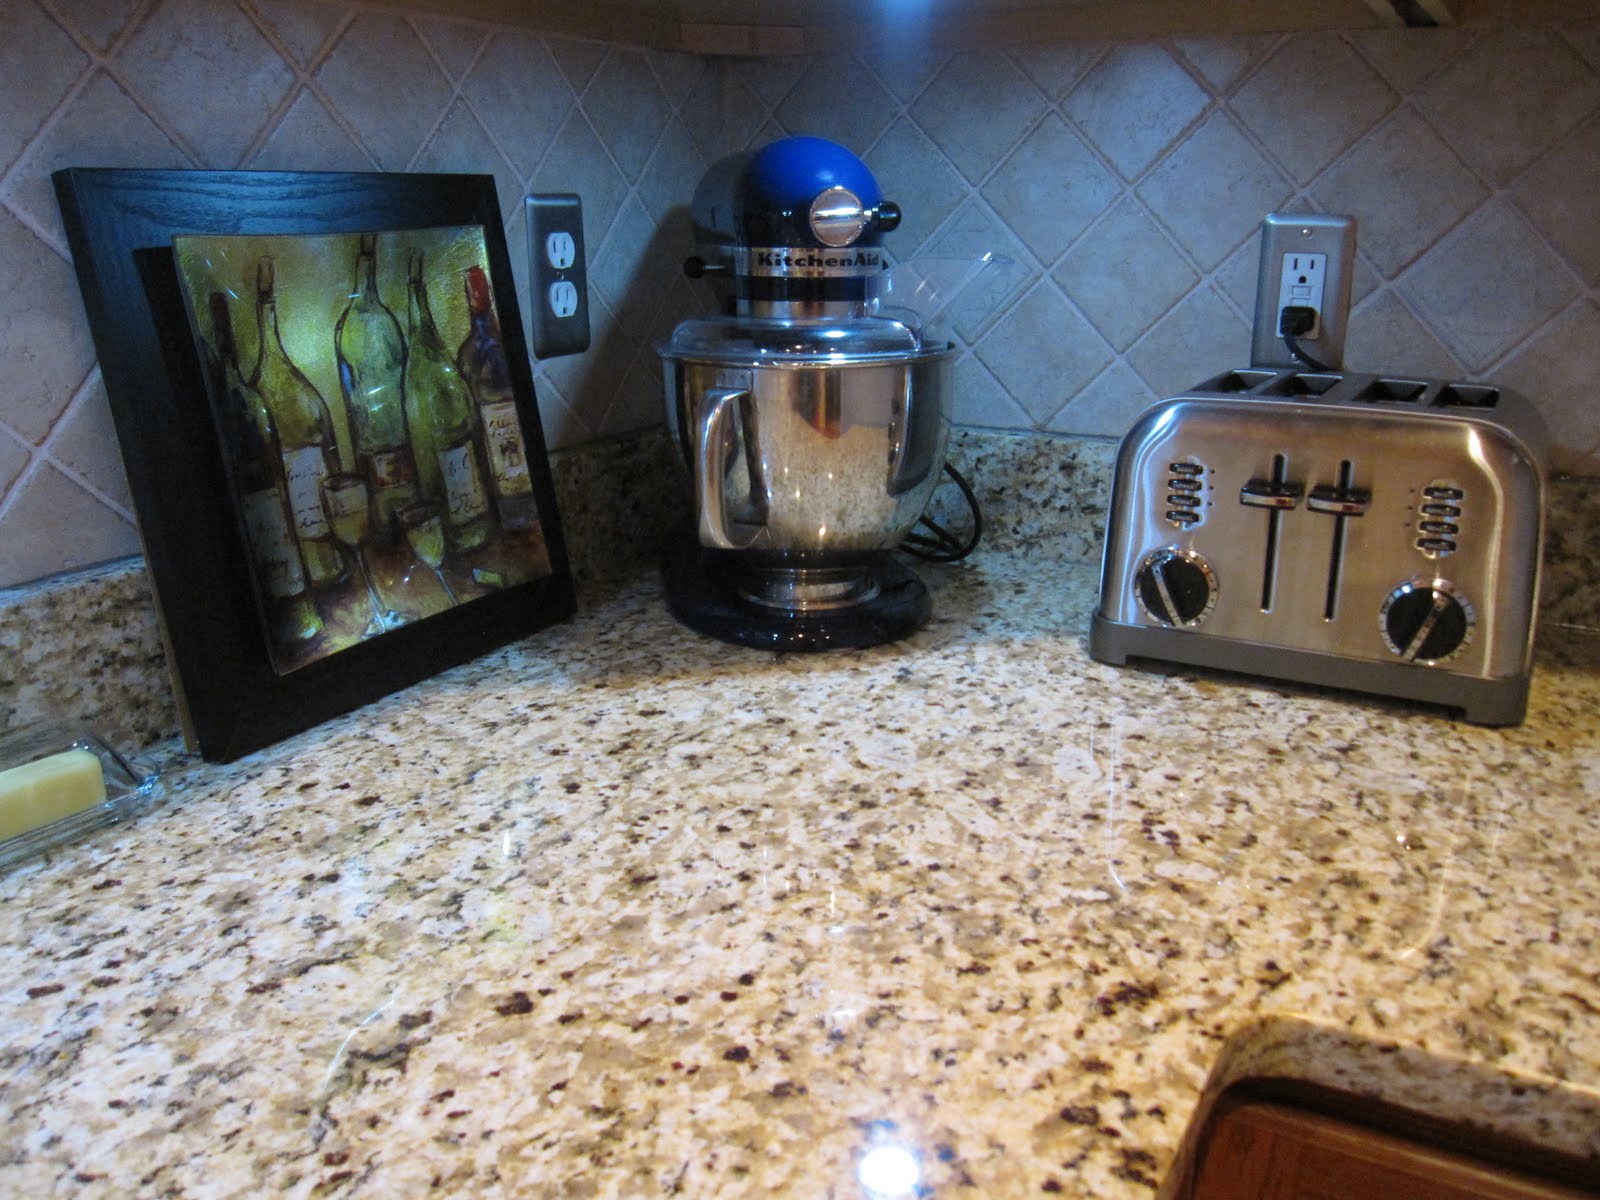
After - The combination of putting a recessed light in the back corner of the kitchen, installing under cabinet lighting and filling the space with a few appliances and decorative pieces, brings more light and energy to this once desolate corner.


Here are a few close-up shots of the under cabinet lighting at work. We purchased the kit from Home Depot and installed everything ourselves.
[I'll try to write a separate post soon, about how we installed the lights and magically made the cord disappear.]


So basically, I've fallen in love with my kitchen. I have to say that my favorite part are the granite counters, but without all the other bells and whistles, this space wouldn't feel complete. I still have dreams of replacing the appliances with stainless steel, but now that everything else is lighter and brighter, I don't hate the white as much ... one day we'll get there.

In the meantime, here are a few more pictures of my favorite space. And I can't lie, I enjoy cooking in here a lot more than I did when everything was so dull and bleh! :)